Introduction
Ceramic tiles remain one of the most popular materials in both construction and renovation. Durable, versatile, and stylish, they fit perfectly in kitchens, bathrooms, entrances, and even commercial spaces.
However, achieving long-lasting beauty depends not only on choosing the right tile but also on how it’s installed. Proper preparation of the subfloor and careful installation make all the difference.
In this guide, discover the advantages of ceramic tile, the key installation steps, and pro tips to ensure a professional and lasting result.
Why Choose Ceramic Tile?
1. Exceptional Durability
Ceramic tiles are resistant to wear, impact, moisture, and stains. Once installed correctly, they can maintain their beauty for decades, making them ideal for high-traffic areas such as hallways, kitchens, and bathrooms.
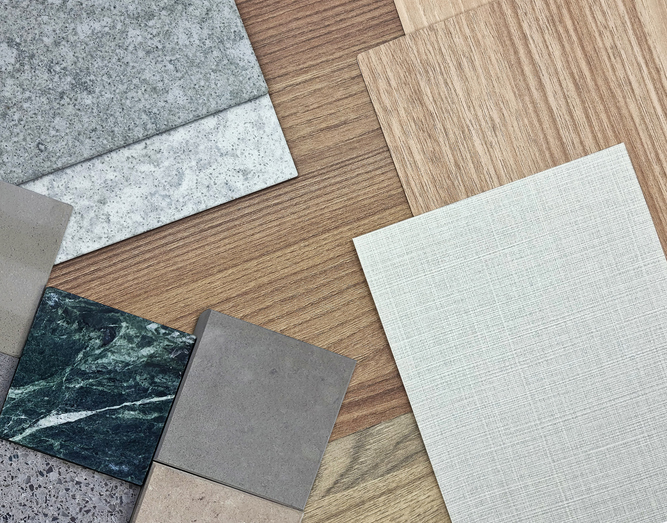
2. Variety of Styles and Finishes
Ceramic tiles come in countless colors, sizes, and textures—wood, stone, marble, or concrete effects. Whatever your style, from classic to modern, there’s a tile to match it.
3. Easy to Maintain
Unlike other floor coverings, ceramic tiles don’t trap dust or allergens. A simple wipe with a damp mop keeps them clean. They’re also heat resistant, which makes them compatible with underfloor heating systems.
4. Excellent Value for Money
Although installation can be more labor-intensive, ceramic tiles offer great long-term value. Their longevity and low maintenance easily offset the initial investment.
Preparing the Surface: The Most Crucial Step
Proper subfloor preparation is essential for a flawless tile installation. An uneven or unstable base can cause cracking or tile detachment over time.
-
Check levelness and rigidity of the subfloor (OSB, plywood, or concrete).
-
Use a decoupling membrane or an OSB subfloor with a polyethylene barrier to prevent movement and protect against moisture.
-
Clean the surface thoroughly before applying adhesive or mortar to ensure maximum bonding.
Main Steps for Ceramic Tile Installation
1. Layout Planning
Before applying adhesive, plan your layout to determine the starting point, alignment, and joint spacing. Good planning prevents narrow cuts and ensures a balanced visual result.
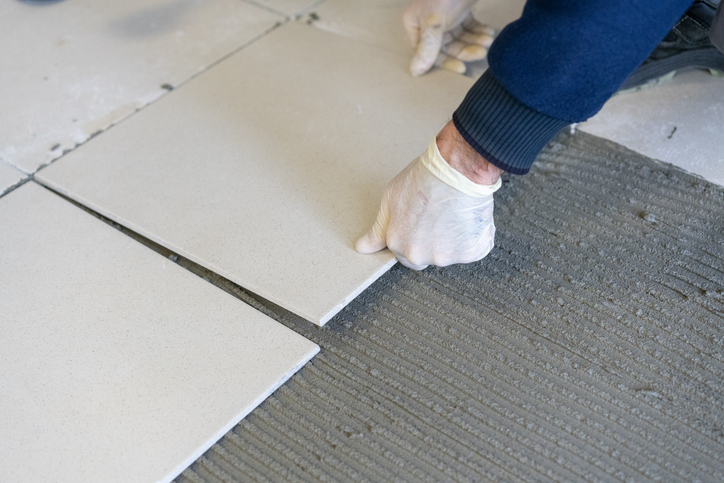
2. Applying the Mortar or Adhesive
Spread the thinset mortar evenly using a notched trowel appropriate to the tile size. For large-format tiles, use a double-bonding method—apply adhesive on both the floor and the back of the tile.
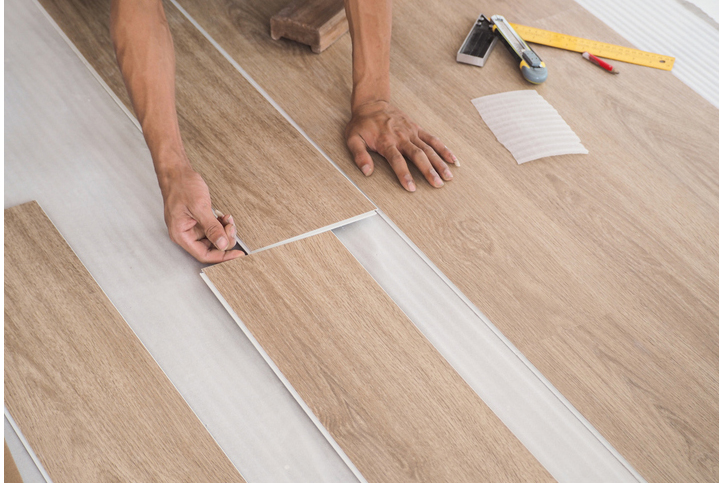
3. Setting and Aligning the Tiles
Lay each tile following the layout pattern. Use spacers to maintain uniform joint widths and check alignment regularly with a level.
4. Grouting
Once the mortar has set, apply grout diagonally across the tiles using a rubber float. Clean excess with a damp sponge before it dries completely.
5. Final Cleaning and Protection
After the grout has fully cured, clean the entire surface carefully. In damp areas, applying a sealant can enhance protection against stains and moisture infiltration.
Common Mistakes to Avoid
-
Skipping surface leveling before installation.
-
Using the wrong type of adhesive or mortar.
-
Forgetting expansion joints along walls or columns.
-
Installing tiles over a damp or unsealed floor.
Pro Tips for a Perfect Finish
✅ Maintain room temperature between 18°C and 25°C (64°F–77°F).
✅ Check subfloor humidity before installation.
✅ Sort tiles by size and shade before laying them.
✅ Clean regularly with gentle, non-abrasive products.
Conclusion
Choosing ceramic tile means investing in durability, beauty, and easy maintenance.
When combined with a stable OSB subfloor and a polyethylene membrane, it provides superior protection against moisture and structural movement.
A well-prepared base and meticulous installation will ensure a strong, elegant floor that enhances your home’s value for years to come.