Want to add a bit of storage or style to your space without too much effort? Installing wall shelves is a simple, effective, and aesthetic solution. However, when working with drywall (gypsum board), it’s best to proceed carefully to avoid unpleasant surprises.
Here’s a step-by-step practical guide to help you achieve a clean, level, and secure installation.
Required Materials
Tools:
-
Measuring tape
-
Level (bubble or laser)
-
Pencil
-
Drill-driver
-
Drywall drill bits
-
Screwdriver
-
Masking tape
-
Stud finder (recommended)
Materials:
-
Shelf (or shelves)
-
Brackets or invisible mounts
-
Alligator anchors (recommended)
-
Plastic wall plugs (optional)
-
Screws
Step 1 – Planning
Before drilling, take a moment to plan:
-
Where exactly do you want to place the shelf?
-
Will it hold decorative items or heavier loads?
-
Can you screw into a wall stud? (This increases strength.)
Tip: Use a stud finder to locate solid points behind the wall. If you don’t have one, gently tap on the wall — a duller sound indicates a stud.
Step 2 – Draw Straight Reference Lines
-
Apply masking tape to the wall at the approximate shelf height.
-
Use your level to draw a perfectly straight line along the tape.
-
Mark where each bracket will go, ensuring they’re at the same height.
Tips for perfect alignment:
-
A laser level gives precise horizontal lines.
-
Fix one bracket first, place the shelf on it, and adjust the second bracket before drilling.
-
If installing multiple shelves, use a small cardboard or wood template to mark consistent heights.
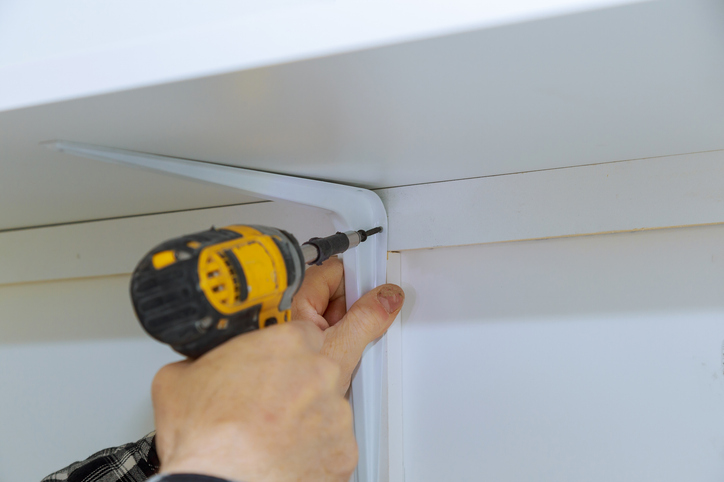
Step 3 – Drill and Insert Anchors
If you can’t screw directly into a stud, use alligator anchors—they provide strong support in drywall.
Plastic anchors can work for lighter loads but are less durable.
-
Drill holes at your marked spots.
-
Insert the alligator anchors.
-
Screw gently so the anchor expands and locks securely into the wall.
Step 4 – Attach the Brackets
-
Screw the brackets into the anchors (or directly into a stud, if available).
-
Use your level to confirm they’re straight before tightening the screws fully.
Step 5 – Install the Shelf
-
Place the shelf on the brackets.
-
If there are pre-drilled holes, secure the shelf from underneath using short screws.
-
Do one final level check — and you’re done!
Extra Tips
-
Space multiple shelves evenly (12–16 inches apart, depending on use).
-
For heavy loads (books, dishes), use alligator anchors and try to secure at least one screw into a stud.
-
For a minimalist look, choose invisible mounts, though they require more precise installation.
In Summary
Installing shelves on drywall is perfectly doable with the right anchors and careful preparation.
With alligator anchors and accurate markings, your shelves will be straight, sturdy, and ready to showcase your favorite décor.